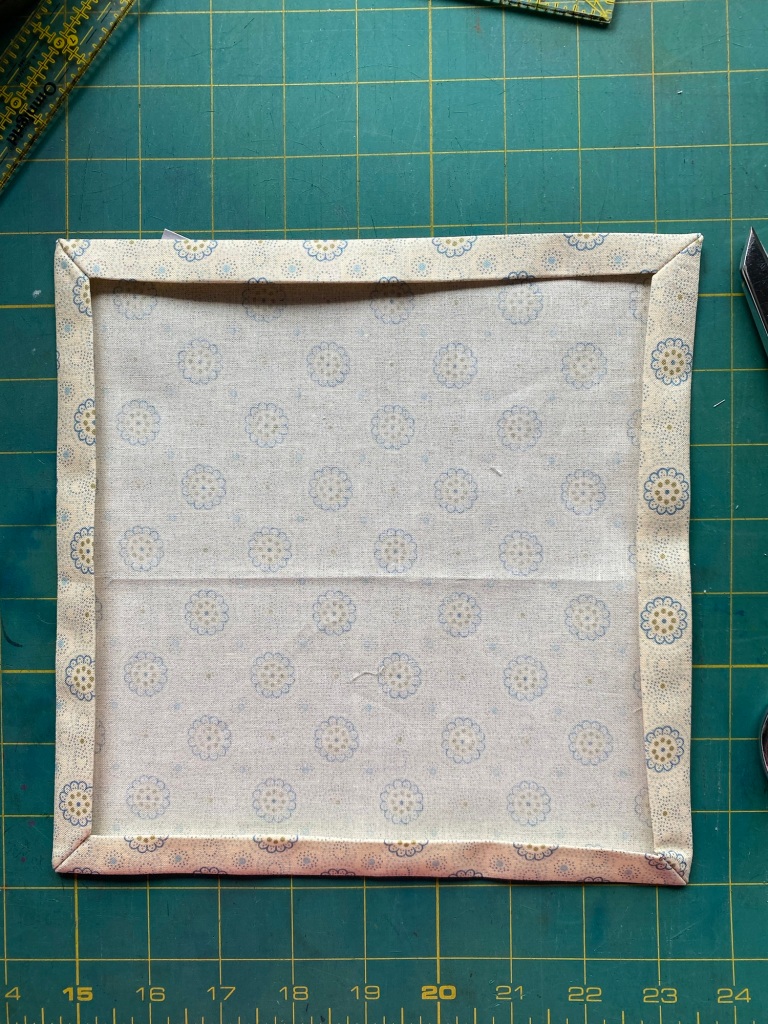
Mitered corners are easy once you know how. This tutorial is based on a demonstration by Siri Woods, and her friend Yvonne, at a recent Willapa Harbor Quilters meeting. She based her demonstration on a post by Paige Handmade, https://paigehandmade.com/sewing-tutorial/mitered-corner.
Siri added a couple simple things to make it easier. They will make sense once you start!
Precision is very important! Your corner will turn out perfectly if you measure precisely.
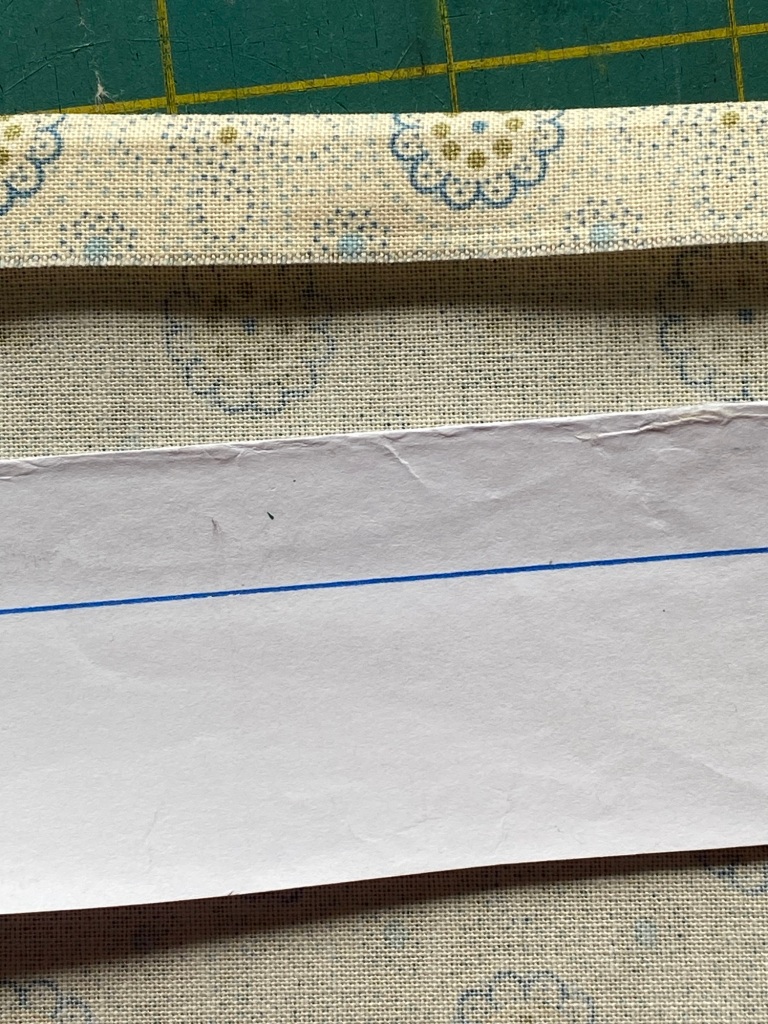
The first is a template for ironing the fabric. Draw a line on a piece of lightweight cardboard (I used an old envelope), the width of your first fold. Stick that template into the fold of your fabric so the edge is right along that line. My fold, and therefore my line, is 1/2 inch (from edge of the template to the line).
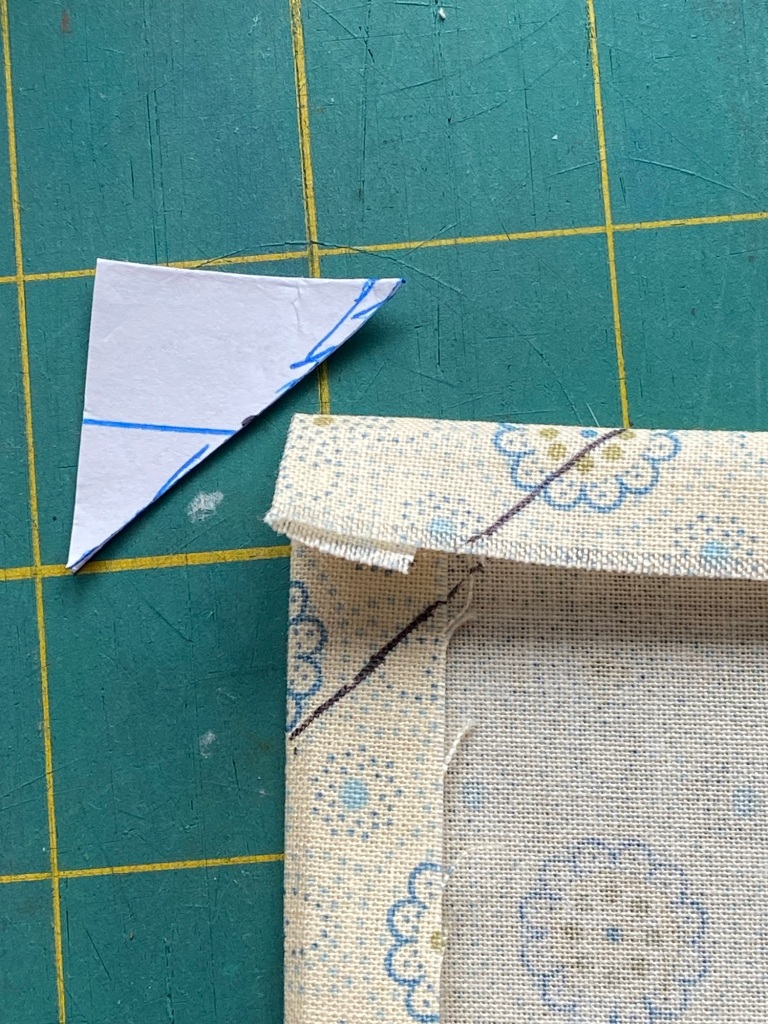
The second is to make a square, that is double the size of your fold. For example, my fold is 1/2 inch, so my square is 1 inch by 1 inch. I added an extra step by cutting it diagonally into a triangle.
So you have your fabric folded and ironed.

Now you want to mark where you are going to sew. Use the triangle to mark the sewing line.

It helps to use your ruler to draw the line.

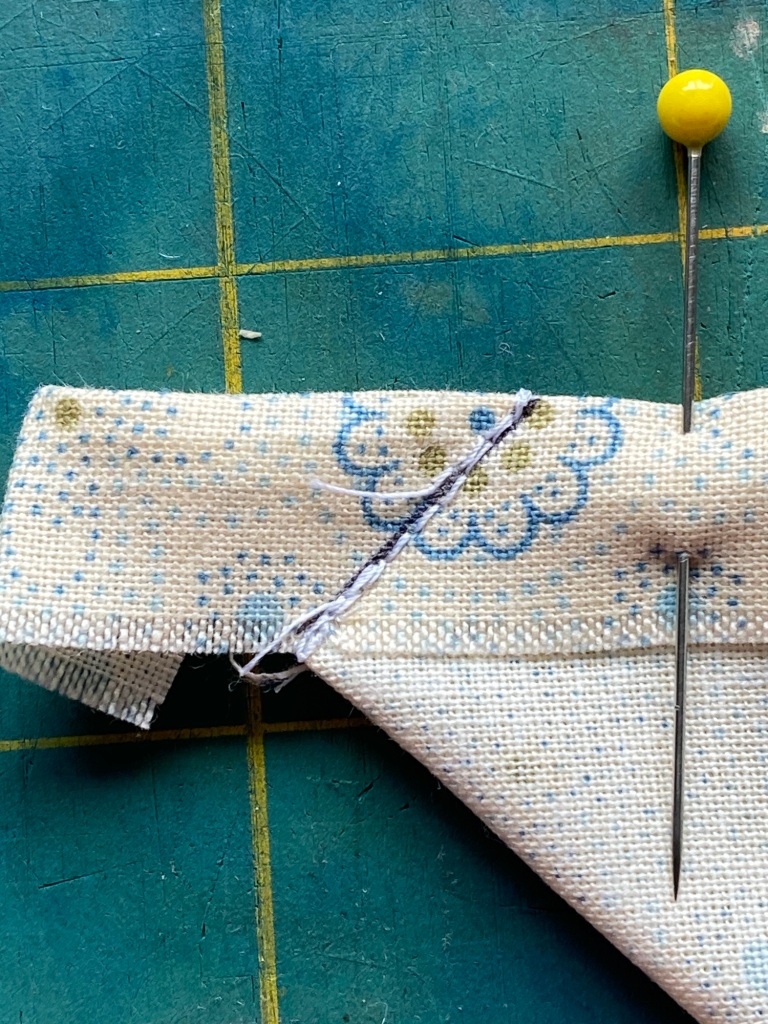
Fold the fabric in half, matching up the ends of that black line, and pin it.
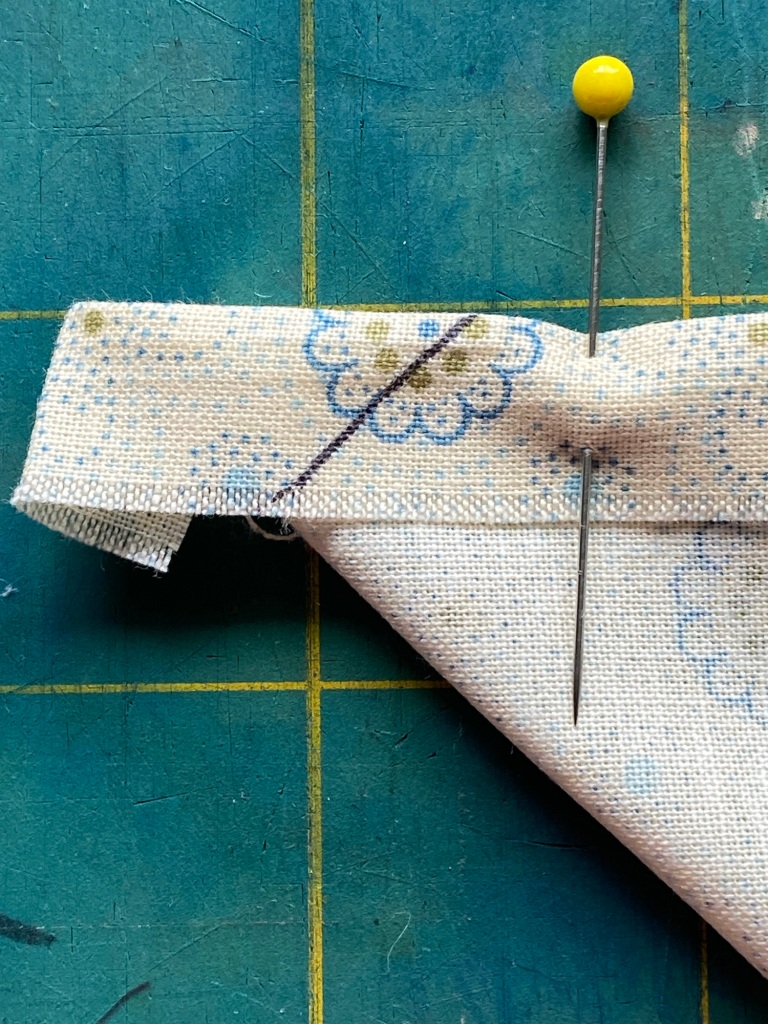
Sew across the line.
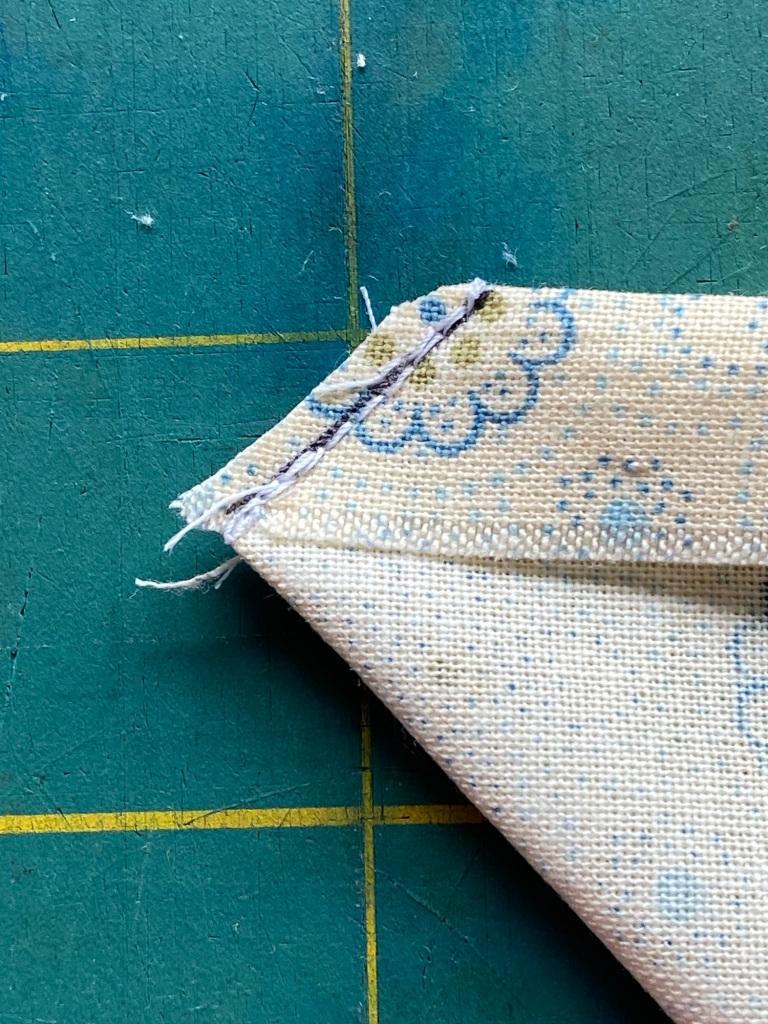
And then trim the excess fabric. I like to grade the point and then cut following the sewing line.
Now turn that inside out, and poke out the point.
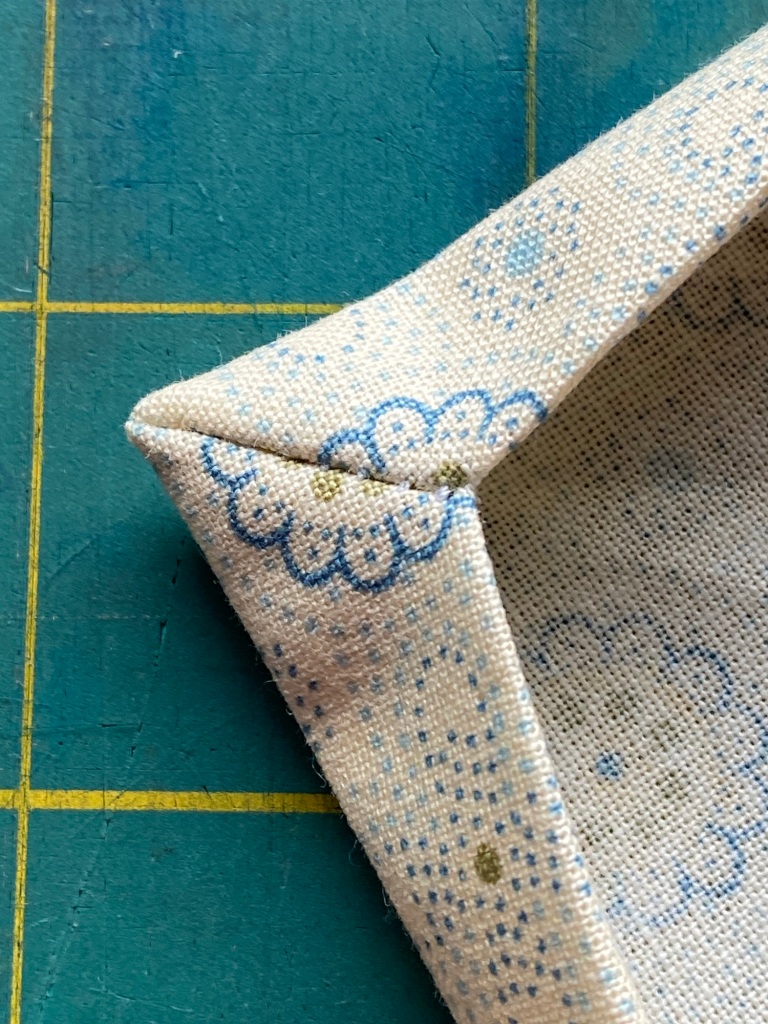
You’ll get something like this, before you trim the corners.
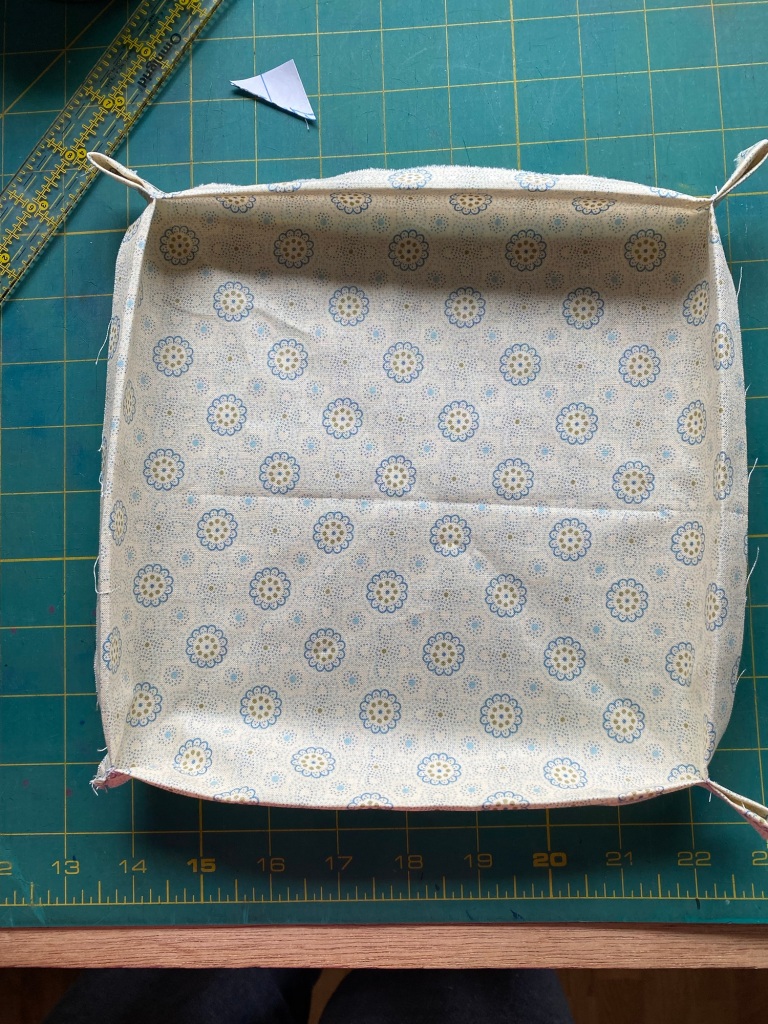
Once you have all 4 corners sewn, you can turn them, then iron the mitered corners. Mine didn’t turn out perfectly, but I am still pretty pleased with it.